

Night transforms a car into a completely different subject. Neon lights reflect off the bodywork, headlights trace lines of light, and the city in the background becomes a cinematic backdrop. Photographing a car at night calls for a different technical approach than daytime shooting — but with the right gear and a few mastered settings, it’s one of the most rewarding exercises in automotive photography.
Contents
- Why Night Photography Elevates Automotive Shots
- Essential Gear for Night Car Photography
- Mastering Long Exposure and Light Painting
- Composing with Urban Lights and Reflections
- Post-Processing: Enhancing a Night Shot Without Overdoing It
- Frequently Asked Questions
Why Night Photography Elevates Automotive Shots
In daylight, a car has to work with light you can’t always control: harsh sun, sharp shadows, a flat white sky. Night flips that balance. The photographer becomes the one in control of the light, whether it comes from a streetlamp, a shop window, an off-camera flash, or a simple flashlight swept along the bodywork. The deep black background removes every distracting element and puts all the attention on one thing: the car.
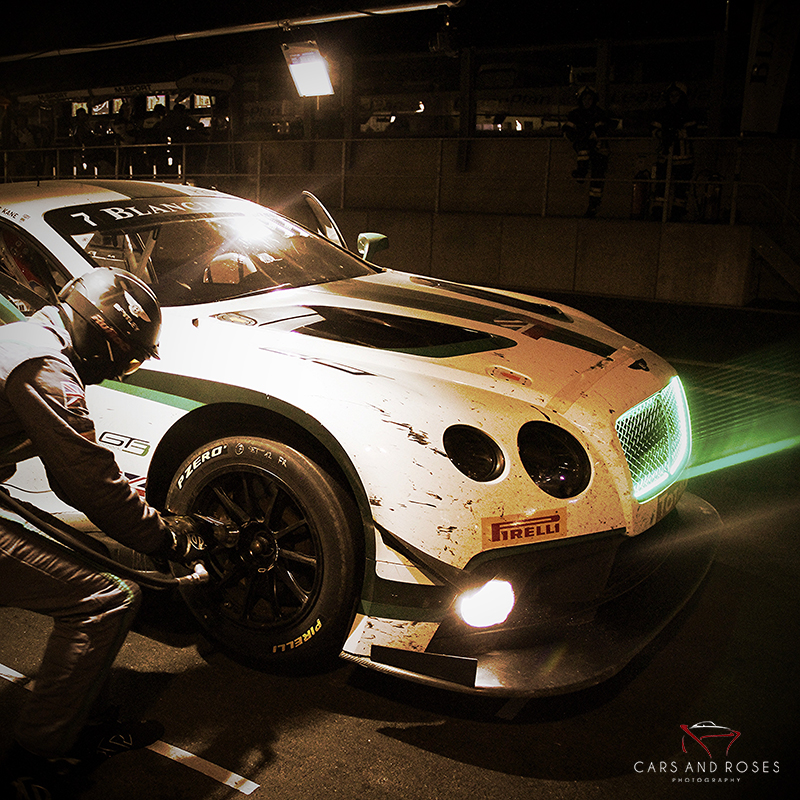
It’s also the setup that best reveals the interplay of reflections on paint and chrome. A well-prepped body captures surrounding points of light and renders them as streaks or pinpoints, giving the image an almost abstract quality. That’s exactly the effect on this Bentley GT3 shot at night, where sepia-toned reflections trace every curve of the bodywork.
Essential Gear for Night Car Photography
A stable tripod isn’t optional — it’s mandatory. Night photography exposure times are measured in seconds, sometimes tens of seconds: the slightest movement of the camera ruins image sharpness. Choose a model with a low center of gravity and legs that won’t vibrate in the slightest breeze.
A remote shutter release (wired, Bluetooth, or an intervalometer) avoids touching the body at the moment of exposure. On recent DSLRs and mirrorless cameras, the built-in 2-second timer works just as well if you don’t have one. As for optics, a fast lens (f/1.8 to f/2.8) lets you keep exposure times reasonable without pushing ISO too high. Finally, a flashlight or portable LED panel opens the door to light painting, the signature technique of night automotive photography.
Mastering Long Exposure and Light Painting
Long exposure means leaving the shutter open for several seconds to gather available light. In practice, most shooters start around f/8 to f/11 for good depth of field across the whole car, a low ISO (100 to 400) to limit digital noise, and adjust exposure time (often 5 to 30 seconds) based on ambient light.
Light painting takes it further: during the exposure, the photographer (or an assistant) sweeps the bodywork with a continuous light source, keeping it in constant motion to avoid hotspots. Repeated across several exposures and blended in post, this technique lets you literally sculpt light across every line of the car — it’s this method that gives night automotive prints their distinctive, almost painterly rendering.
Composing with Urban Lights and Reflections
An underground parking garage, a sodium-lit avenue, the neon of a gas station: every urban light source brings its own color cast and texture. The challenge of night composition is choosing a background that structures the image without cluttering it — a receding line of lights, a symmetrically lit facade, or a completely black backdrop that isolates the subject entirely.
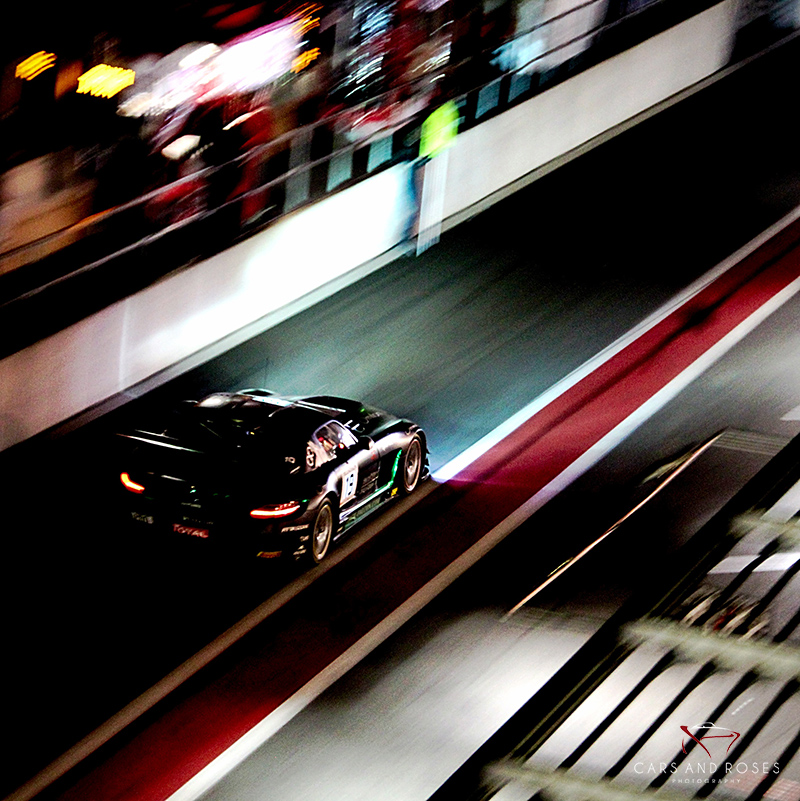
Glass and chrome surfaces play a key role: they multiply points of light and create reflections that add depth to otherwise flat areas. This is especially visible on gullwing doors or wheels, as seen on this Mercedes SLS AMG GT3, whose angular lines catch and redistribute ambient light very differently depending on the shooting angle.
Post-Processing: Enhancing a Night Shot Without Overdoing It
Night photography benefits from post-production, but with restraint. The priority is recovering blown highlights (headlights, neon signs) without crushing the shadows that give the image its depth. A careful tone curve adjustment, combined with targeted noise reduction in dark areas, is usually enough to get a clean result.
For fine art prints intended for large-format printing, avoid overly aggressive saturation or local contrast adjustments: what looks spectacular on a backlit screen can turn garish once printed on baryta paper. Editing should serve the image’s fidelity, not replace it with an artificial effect.
Frequently Asked Questions
Stick to a low sensitivity, between 100 and 400 ISO, to limit digital noise in dark areas. The longer exposure time compensates for the lack of light — it’s the tripod that makes this low ISO possible, not a higher ISO setting.
Yes, as soon as your exposure time exceeds a fraction of a second, which is almost always the case at night. Without a tripod, motion blur makes the image unusable, even with a very fast lens.
Use a stable tripod, a remote shutter release or the built-in timer, and turn off lens stabilization if the body is fixed on a tripod — on some models, stabilization can actually introduce slight vibrations.
Night modes on recent smartphones give decent results for casual use, but remain limited for a fine art rendering: reduced dynamic range on highlights, visible digital noise in large-format prints. For a print meant for home decor, a camera body with a fast lens is still significantly superior.
Discover Our Night Automotive Photography in Limited Edition
Bentley GT3, Mercedes SLS AMG… Each night print is a limited edition, signed and delivered with a certificate of authenticity.
You May Also Like
- Black and White Car Photography: Why It Never Goes Out of Style
- How to Choose the Right Size for Your Photo Print
- Fine Art Print vs Poster: How to Choose the Right One for Your Home