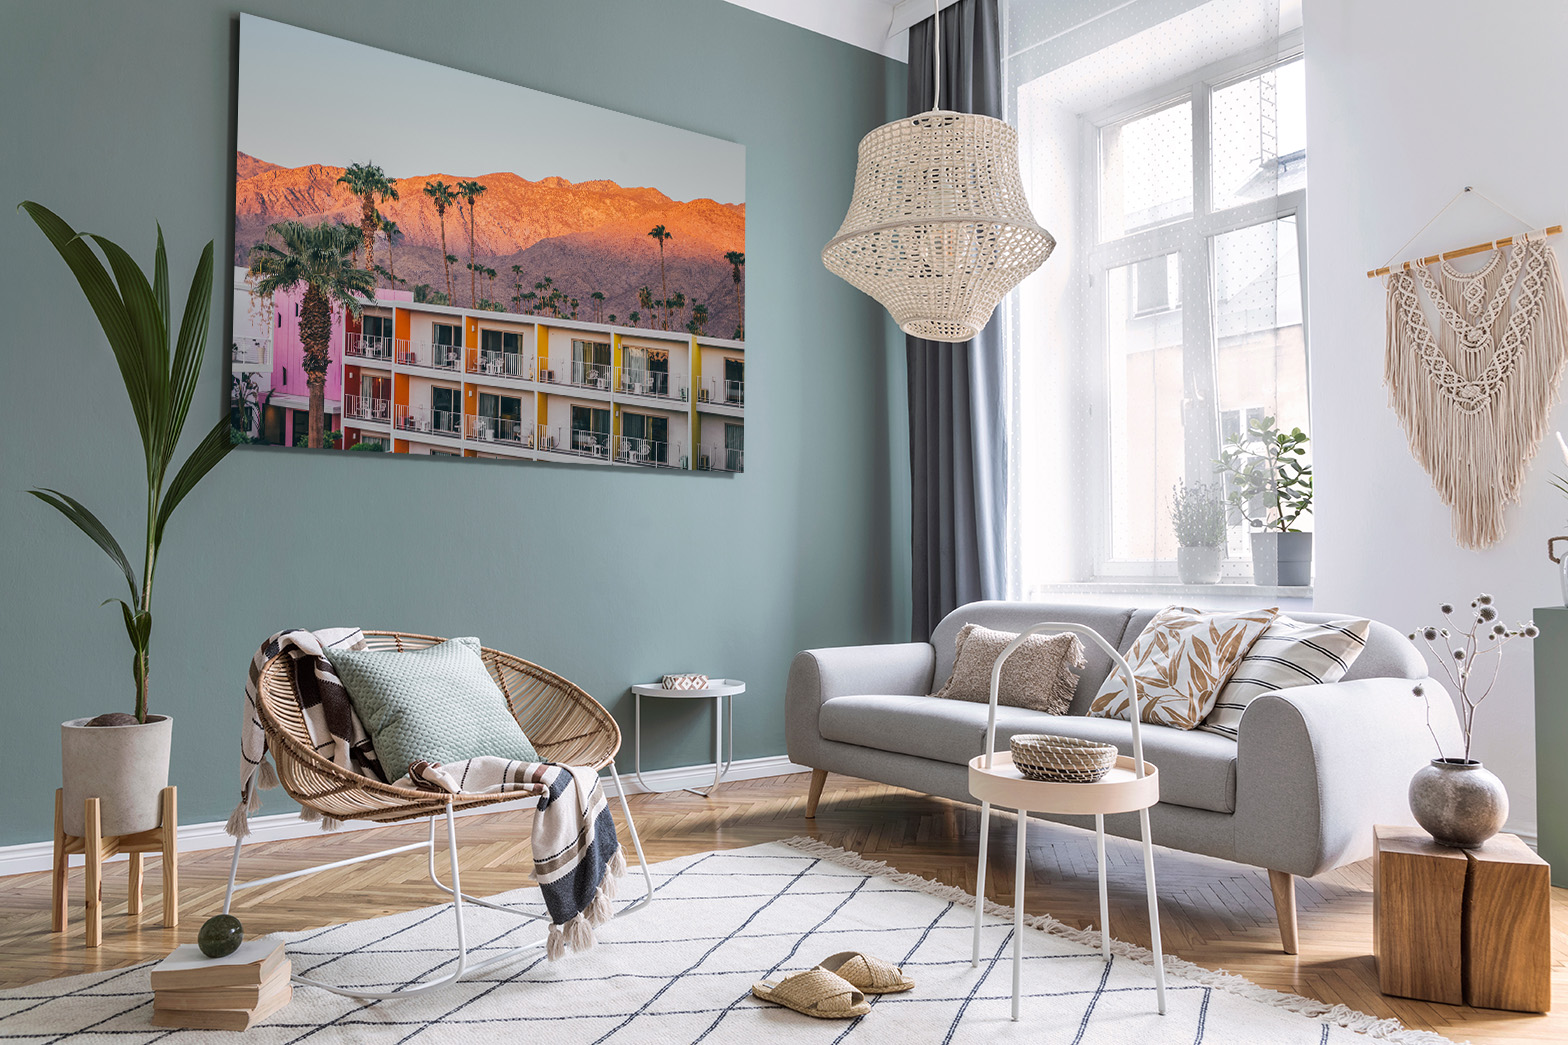
Hanging wall art properly turns any room into a gallery-worthy showcase. You’ll learn how to achieve this by taking the right measurements and applying the 57-inch rule for eye-level placement. This guide also covers how to choose the correct hardware and position your piece perfectly over furniture. Whether you own a single statement piece or an entire wall art hanging collection, following these tips will guarantee beautiful results.
Essential rules for hanging art at the right height
The key to great placement starts with knowing the essential rules for hanging art on walls. Designers frequently use the 57-inch rule, which positions the center of your artwork at the average person’s eye level. This ensures that no one has to strain their neck to appreciate your display.
The 57-inch rule and eye-level placement explained
The 57-inch mark is a trusted standard for professional-looking art hanging. To find your exact nail spot, start by dividing the height of your artwork in half. Then, subtract the distance from the top of the frame to the hardware and add 57. This method ensures a pleasing look and avoids uncomfortable viewing.
- Find the center: Measure the total height of your piece and divide by two. Then, subtract the gap from the frame’s top to the hanging point.
- Adjust for ceiling height: In rooms with high ceilings, hang your art a bit higher than 57 inches. For lower ceilings, adjust downward for a better fit.
- Consider seated viewing: In areas where people are often seated, like dining rooms, lower the art to align with seated eye level, generally 8–12 inches lower.
- Check with a photo: Snap a picture after you hang your piece. This gives you a neutral perspective to confirm the height works well before you commit.
Professional art hangers often step back several feet to judge their work. If the hanging art looks balanced, trust your instincts. Sometimes, designers prioritize how the artwork interacts with nearby furniture rather than sticking rigidly to measurements.
How to measure and mark the wall before you hang art with nails
A successful installation begins with precise measuring. Select the exact part of your wall space you want to use. To find your vertical line, divide the wall’s width in halfthis is much easier than attempting to center the piece everywhere. Lightly marking this guideline is the first step in how to hang wall art with nails. Use painter’s tape to outline the size of your piece so you can visualize its scale on the wall space.
- Inspect your wall: Look for hidden studs, electrical wiring, or pipes. Pay attention to any architectural details that may affect your placement.
- Use a tape outline: Apply strips of painter’s tape to map out the frame’s edges. This lets you preview how the piece will relate to your furniture and decor.
- Mark the centerline: Measure the width of your chosen wall area, find the midpoint, and mark a vertical guideline to ensure your art is perfectly centered.
- Mark the hardware spot: Once you’ve finalized the placement, use a pencil to mark the precise spot for your nail or hook.
Before you hammer in a nail, double-check that you aren’t about to hit any electrical wires or plumbing. For heavy artwork (over 20 pounds), always use a stud finder. Following these steps turns a potentially stressful task into a simple, professional process.
Proportion and furniture clearance: the 2/3 rule in practice
Follow the 2/3 rule to create a pleasing relationship between your hanging artwork and the furniture below. Ideally, your piece should be about two-thirds the width of the item underneath it. For example, a 48-inch wide art piece balances beautifully over a 72-inch sofa.
Leave about 6–10 inches between the top of your furniture and the bottom of your frame. This ensures your guests won’t bump their heads when seated and gives the artwork visual breathing room. Feel free to tweak standard art hanging guidelines to maintain this clearance.
If you’re dealing with several pieces in an area of limited wall space, treat the entire arrangement as one unit. The collection should occupy a significant portion of the wall to avoid looking random. Opting for a few larger pieces instead of many small ones often makes a much stronger statement.
How to Hang Wall Art on Drywall and Brick Surfaces
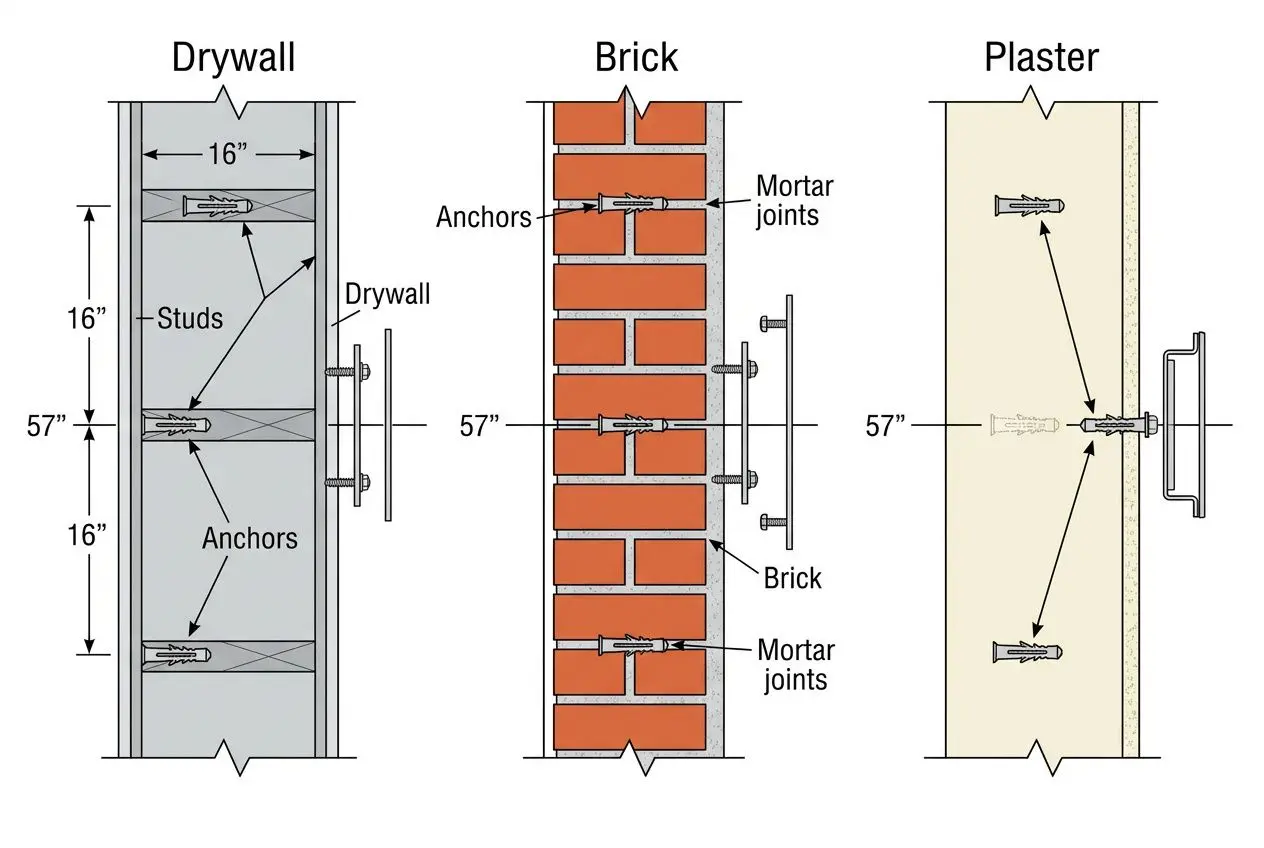
Properly securing your artwork on different types of walls requires specific hardware and techniques. This is essential whether you’re dealing with standard drywalloften featuring studs spaced 16 inches apartor more challenging surfaces like exposed brick. This guide explains the best ways to hang wall art on drywall and brick to ensure a safe and professional display.
Choosing the Right Hardware for Drywall Installation
To keep your artwork securely in place on drywall, it’s crucial to select the appropriate hardware. For lightweight pieces, simple picture hangers with a small nail can be pushed easily into the wall. For anything heavier, always anchor a hook or screw directly into a wall stud to ensure maximum support.
For particularly heavy items, French cleats provide an exceptionally secure mounting solution. This system uses two interlocking strips, allowing the frame to rest securely on the wall-mounted cleat for even weight distribution. They are ideal for mounting premium pieces like Porsche wall art that demand absolute stability.
| Hardware Type | Weight Capacity | Wall Surface | Installation Difficulty | Best For |
| Drywall picture hangers | Up to 20 pounds | Drywall only | Very easy | Lightweight frames and prints |
| Screw anchors | 15-50 pounds | Drywall | Easy | Medium-weight artwork and mirrors |
| French cleats | 50+ pounds | Drywall into studs | Moderate | Large artwork and heavy pieces |
| D-rings with screws | 20-40 pounds | Drywall into studs | Easy | Frames with D-ring attachment points |
| Command adhesive strips | Up to 16 pounds | Smooth drywall | Very easy | Temporary displays and rentals |
We generally recommend avoiding picture wire, as it tends to cause frames to tilt forward. If you do use a wire, place felt bumper pads on the bottom corners of the frame to help keep the piece level. For superior stability on most frames, installing D-rings securely over screws is a much better option.
How to Hang Wall Art Securely on Brick Walls
Standard drywall fasteners are not suitable for hard masonry surfaces. Learning how to hang wall art on brick properly requires using a masonry drill bit and wall plugs inserted specifically into the mortar joints. Mortar is significantly easier to repair and holds anchors more reliably than drilling directly into the brick.
Adhesive strips present an excellent drill-free alternative for lightweight frames on smooth or painted brick surfaces. Simply clean the area thoroughly and apply the adhesive firmly for the recommended duration. For heavier pieces, particularly valuable photography like Porsche wall art, hiring a professional ensures your artwork stays securely mounted for years to come.
How to hang wall art without nails, holes, or a drill
Renters and homeowners alike love damage-free solutions for hanging art. With modern adhesives, you can create a stunning gallery wall without making any permanent changes. Mastering how to hang wall art without nails gives you incredible flexibility to update your space whenever you like.
Adhesive strips and hook solutions for damage-free hanging
Adhesive strips are a top choice for anyone wanting to hang art without nails. They create a strong bond but release cleanly when pulled straight down, leaving your wall space flawless. High-quality strips can safely hold artwork weighing up to sixteen pounds, though they work best on smooth walls.
- Surface preparation: Wipe your wall clean with a damp cloth and let it dry completely. Dust or moisture can weaken the adhesive and cause the art hanging to fail.
- Weight distribution: Attach adhesive plate hangers to the back of the frame, then use a durable wall hook. This smart setup safely distributes the weight across multiple points.
- Removal technique: To remove, pull the adhesive strips slowly and steadily toward the floor. Pulling them outward could damage the wall or leave a sticky mess.
For textured walls, always choose adhesives made for rough surfaces to ensure a secure hold. Before hanging a valuable painting, test the hardware with a heavy object. This extra step keeps your display securely in place.
Nail-free display ideas: leaning, ledges, and ready-to-hang art
Leaning artwork directly on shelves or mantels is a popular and completely damage-free way to display. You can rearrange layered galleries whenever you want without needing a single nail. It’s the perfect answer for how to hang wall art without holes while keeping your options open.
Many high-quality pieces come with pre-installed hardware, such as wall art hanging options. To display a large piece of art in a room with limited wall space, simply lean the oversized frame in a corner. This simple, no-fuss method creates an instant visual impact without any complicated setup.
Lighting and final adjustments to perfect your wall art display
Lighting plays a huge role in how people experience your art hanging arrangements. Place pieces opposite natural light to enhance their colors and contrast. In darker rooms, use picture lights to safely highlight details and create depth.
Keep in mind that direct sunlight can fade prints and damage art over time. Avoid hanging delicate pieces in direct sun, or use UV-protective glass for added safety. Finally, step back and take a photo of your finished display to check the spacing and overall balance.
Frequently Asked Questions
What is the golden rule for hanging art?
Hang your artwork so the center is 57 inches from the floor, which aligns with the average person’s eye level. This standard height helps prevent neck strain and creates a polished, consistent look throughout your space.
To determine exactly where to drive the nail, use this simple calculation: (Artwork height ÷ 2) – (distance from the top of the frame to its hardware) + 57 inches.
What is the 2/3 rule for wall art?
This guideline ensures your hanging art is in proportion to the furniture below. Aim for the width of the artwork to be roughly two-thirds the width of your furniture; for example, a 48-inch wide piece would suit a 72-inch sofa.
This creates a visually balanced look and prevents the art from appearing too small. Additionally, leave a 6-to-10-inch gap between the top of the furniture and the bottom of the frame to maintain this harmonious relationship.
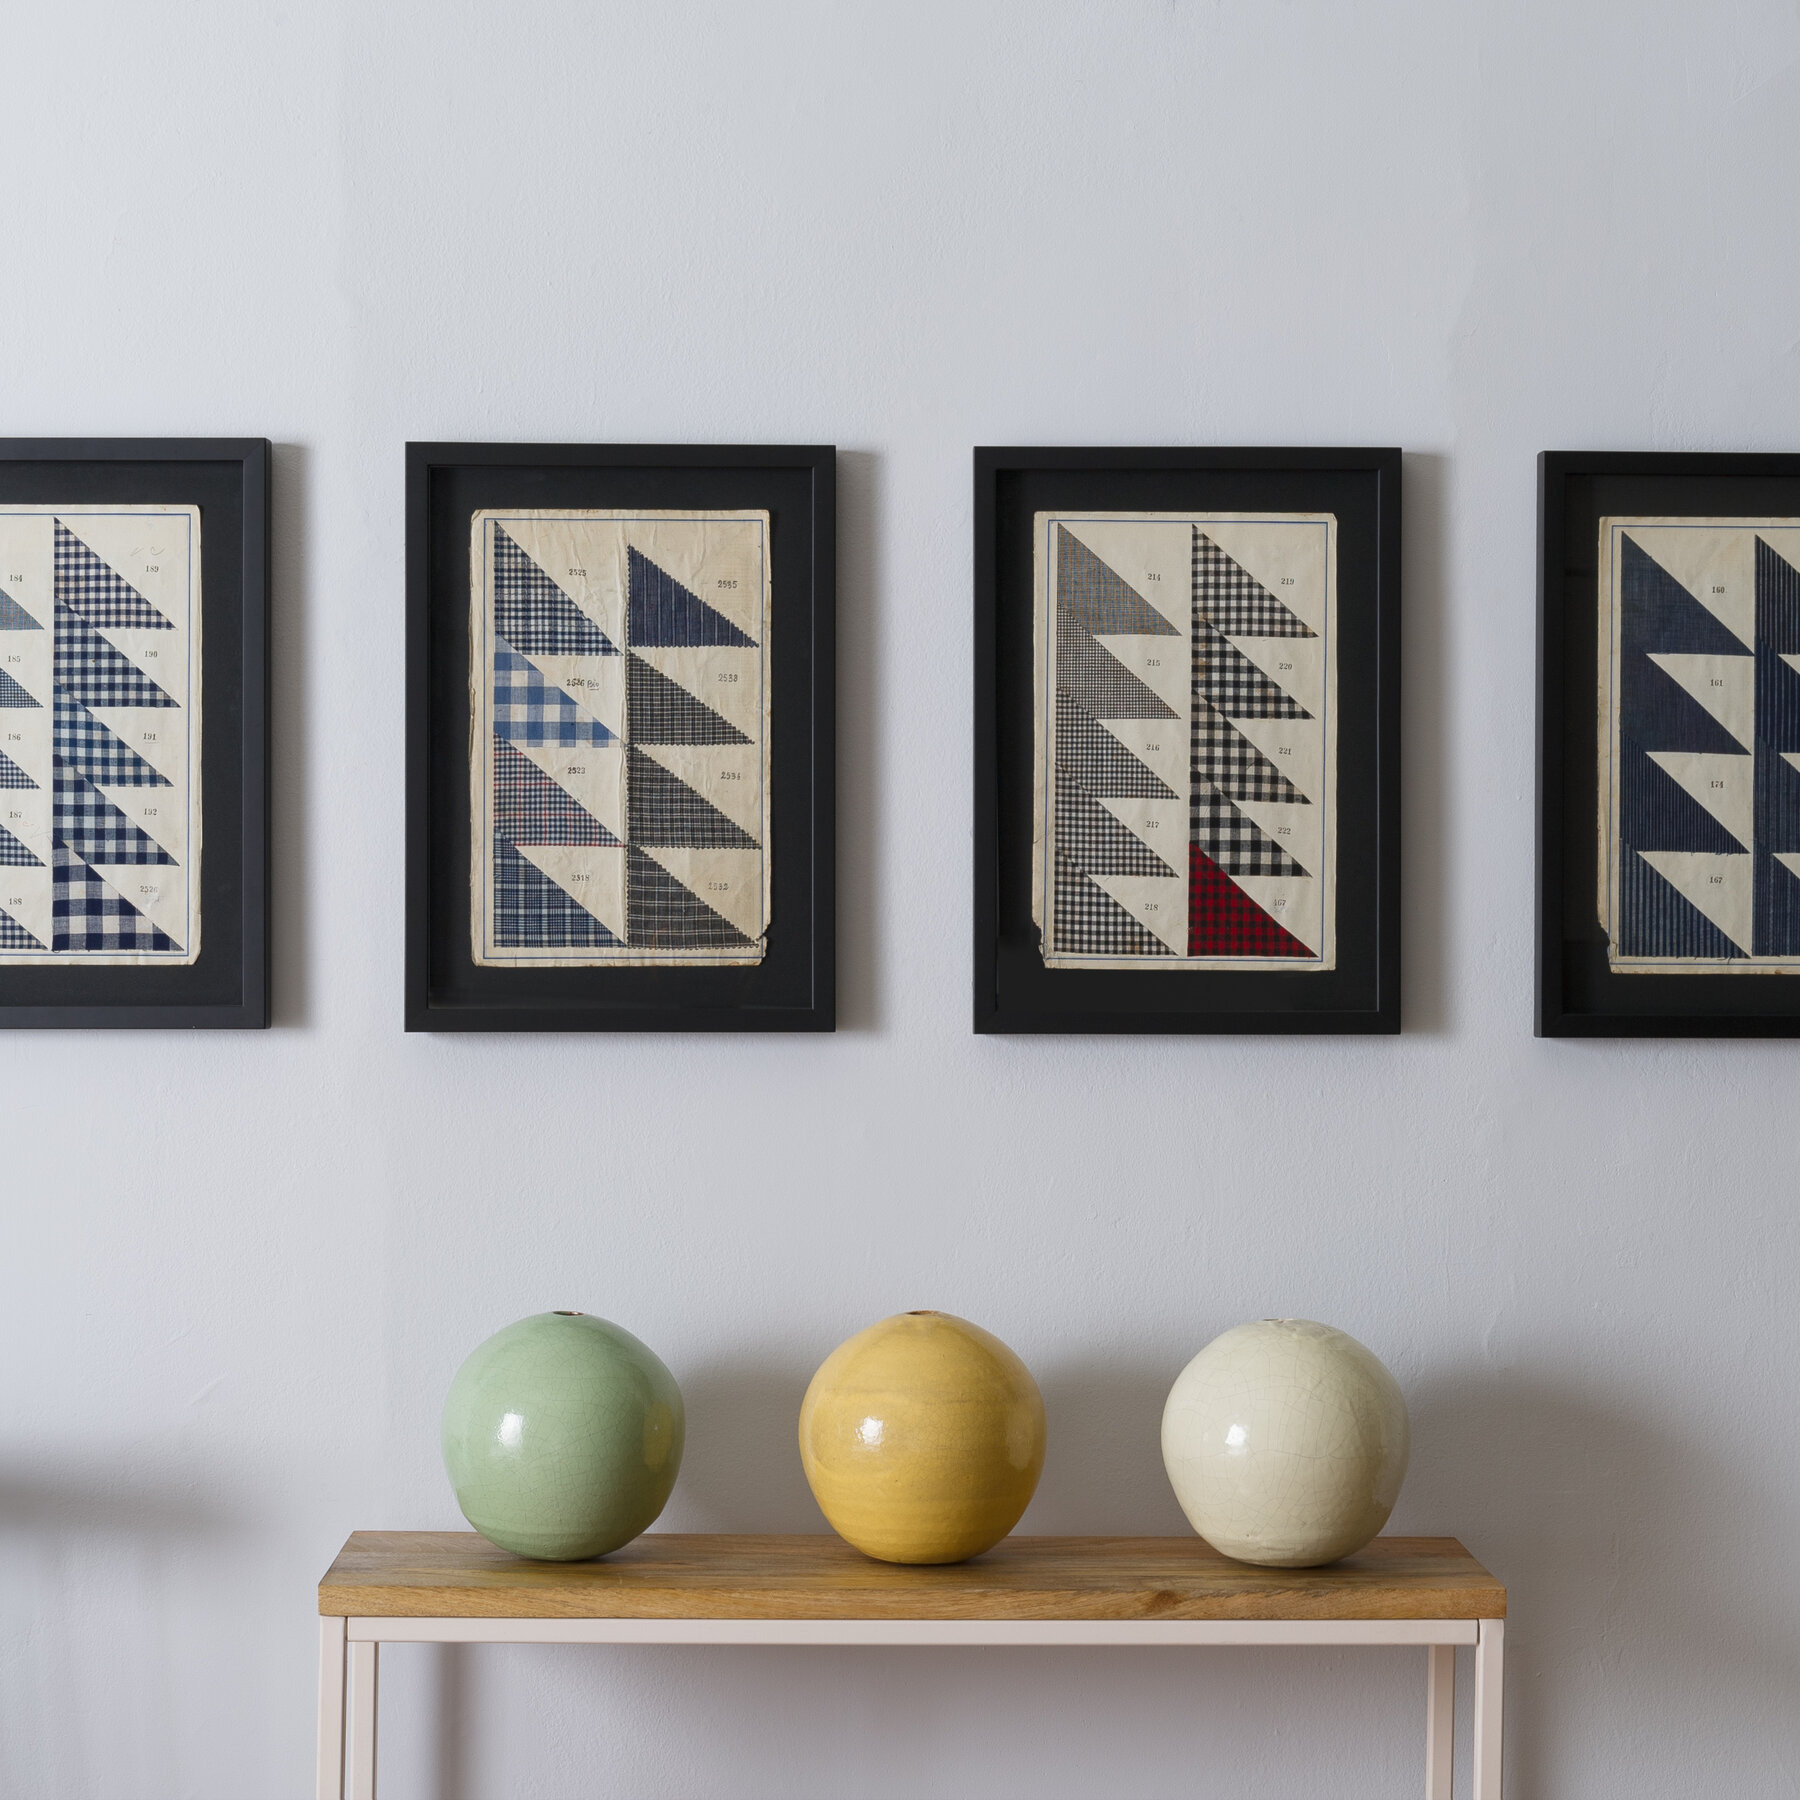
How do I create a successful gallery wall arrangement?
Start by choosing pieces for your gallery wall that share a common theme or style. Plan the arrangement as a single unit and position its overall center at the recommended 57 inches from the floor, which is the standard eye level. Maintain a consistent 3 to 6 inches of space between each individual frame for a cohesive and balanced look.
For a clean appearance, align the top or bottom edges of your frames in a straight line. Before you drive the final nail, take a photo of your layout and review it to ensure you’re happy with the overall visual impact.